1. Installation
Theme
At meridianthemes.net/dashboard you can download the theme files, you will see the ZIP file called meridian-wedding, that is the file you install the theme with.
- Log in to your WordPress Admin Panel
- Go to "Appearance" → "Themes"
- Click "Add New" ( you'll see it at the top, on the right side of the page title )
- Click "Upload Theme"
- Click "Choose file" (or "Browse", depending on your browser) and choose the meridian-wedding.zip file
- Click "Install Now"
- After WordPress finishes installing click "Activate"
Plugins
After you active the theme you will be taken to the "Welcome page". At the very top you will be prompted to install some required and recommended plugins the theme uses, as seen in the screenshot below.

Click the "Begin installing plugins" button and you'll be taken to a new page where you can install and activate them.
These are the plugins this theme uses:
Meridian Wedding Features - This plugin is required, the custom post types used for bridesmaids,groomsmen and wedding schedule are located in it.
Contact Form 7 - Used for the RSVP section. It's the most popular WordPress plugin for contact forms. Contact Form 7 can manage multiple contact forms, plus you can customize the form and the mail contents flexibly with simple markup. The form supports Ajax-powered submitting, CAPTCHA, Akismet spam filtering and so on. More info at the plugin page on WordPress
Meridian Styler - This plugins adds a panel in the front end which you can use to change styling ( colors, spacings, typography... ) on pretty much any element.
Demo Content ( one click importer )
Once you activate the plugins you'll see a "Return to the Theme Welcome page" link, click it. By the way, you can always access that page at WP admin > Appearance > Theme Welcome.
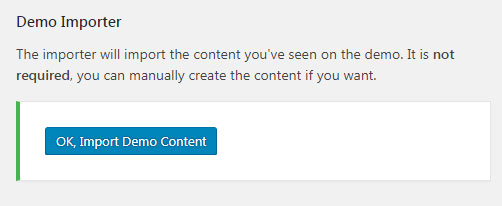
You will see the importer section at the top, in the same row where the plugins section is.

Simply hit the OK, Import Demo Content button and it will start importing step by step. Once done you'll see the text "All Finished".
